Run a JSON Model
Now let's first try something easy to get you familiar with Pinferecia.
TL;DR
It's important for you to understand how to register and serve a model in Pinferencia.
However, if you want to try machine learning model now, you can jump to Serve Pytorch MNIST Model
Define the JSON Model
Let's create a file named app.py.
Below is a JSON Model.
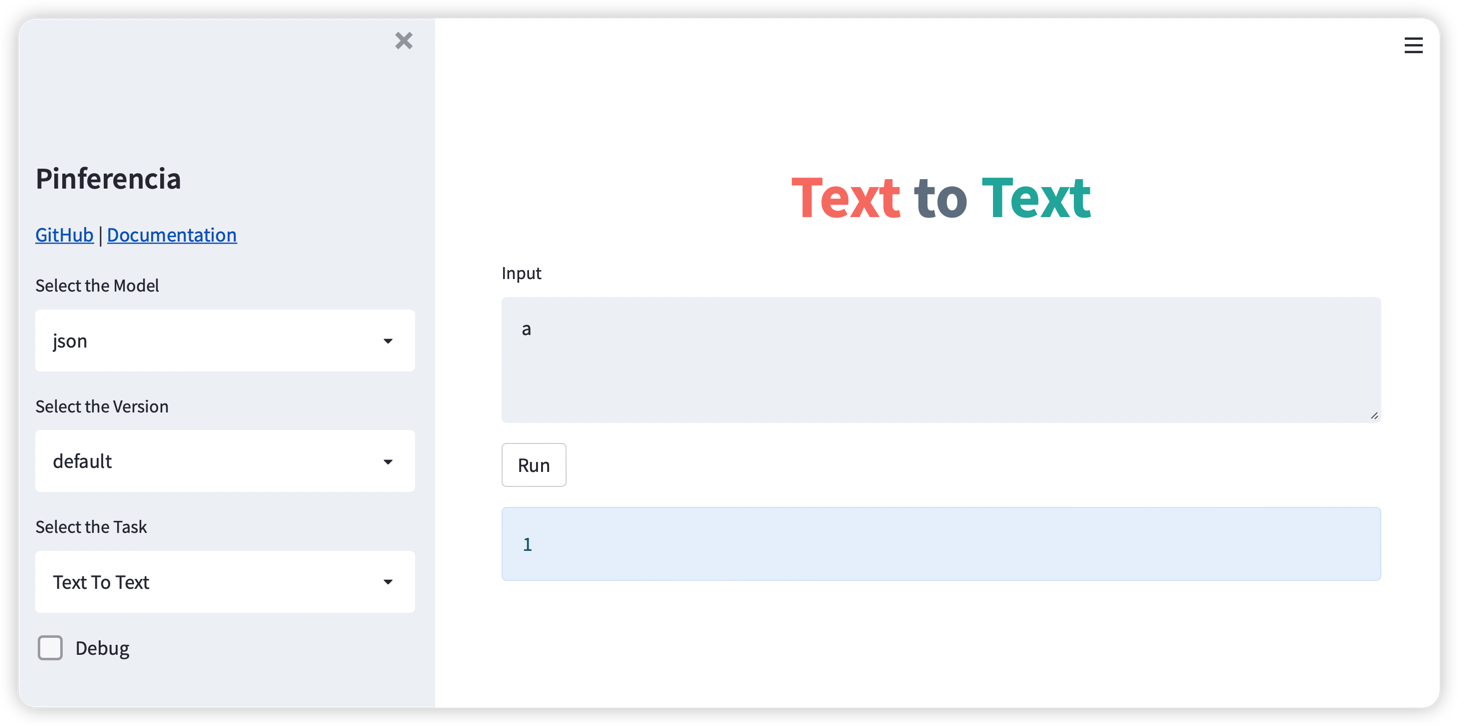
It simply return 1 for input a, 2 for input b, and 0 for other inputs.
| app.py | |
|---|---|
1 2 3 4 | |
- You can use Python 3
Type Hintsto define the input and output of your model service. Check out howPinferenciautilizes the usage ofType Hintsat Define Request and Response Schema
Create the Service and Register the Model
First we import Server from pinferencia, then create an instance and register a instance of our JSON Model.
| app.py | |
|---|---|
1 2 3 4 5 6 7 8 9 10 11 12 13 14 15 16 17 | |
- The name you'd like to give your model to display in the url.
- The function to use to perform predictions.
- Set the default task of this model. The frontend template will be automatically selected for this model according to the task defined here.
What are the model_name, entrypoint and task here?
model_name is the name you give to the model for later API access. Here we give the model a name json, and the url for this model is http://127.0.0.1:8000/v1/models/json.
If you have any confusion about the APIs, you can always visit the documentation page mentioned in the next part.
The entrypoint predict means we will use the predict function of JSON Model to predict the data.
The task is the indication what kind of the task the model is performing. The corresponding frontend template will be chosen automatically if the task of the model is provided. More details of template can be find at Frontend Requirements
Start the Server
$ pinfer app:service --reload
INFO:     Started server process [xxxxx]
INFO:     Waiting for application startup.
INFO:     Application startup complete.
INFO:     Uvicorn running on http://127.0.0.1:8000 (Press CTRL+C to quit)
Open your browser and visit:
- http://127.0.0.1:8501 to explore the graphic interface with built-in templates!
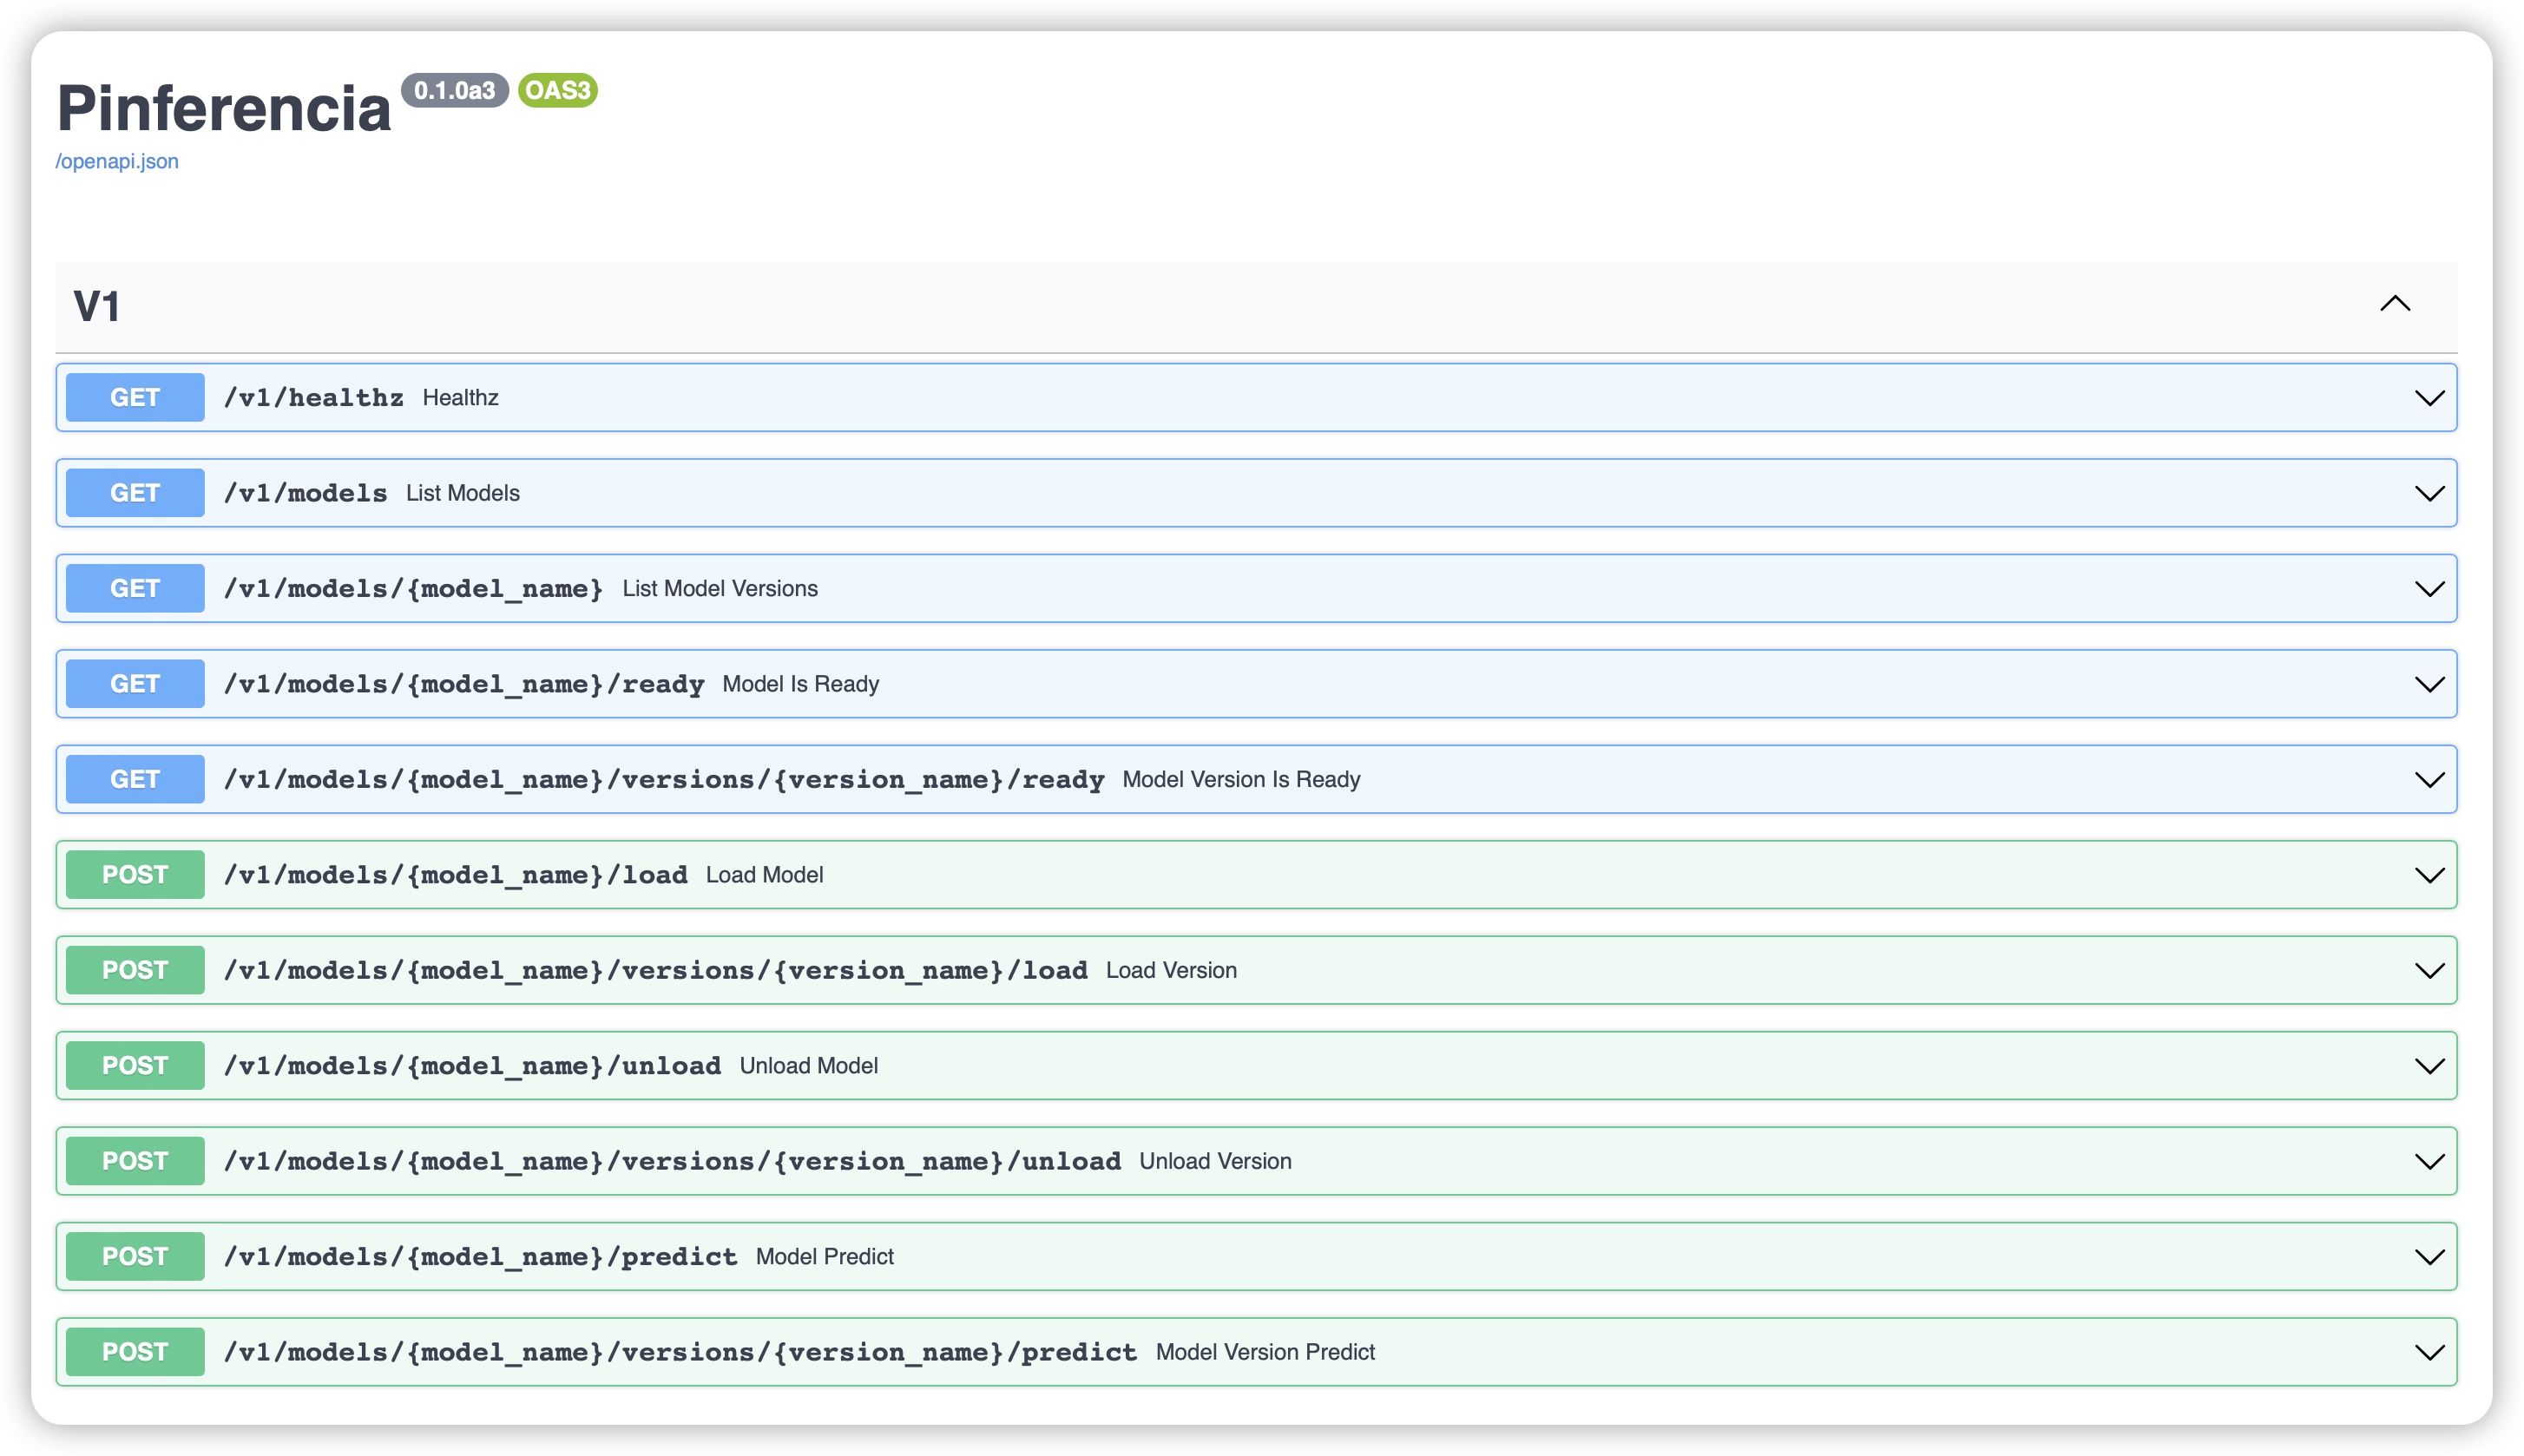
- http://127.0.0.1:8000 to explore the automatically generated API Documentation page!
FastAPI and Starlette
Pinferencia backends builds on FastAPI which is built on Starlette.
Thanks to them, you will have an API with OpenAPI Specification. It means you will have an automatic documentation webpage and client codes can also be generated automatically.
The default address is at:
Test the API with requests and Postman
Create a test.py with the codes below.
Tips
You need to have requests installed.
pip install requests
| test.py | |
|---|---|
1 2 3 4 5 6 7 8 | |
Run the script and check the result.
$ python test.py
{'model_name': 'json', 'data': 1}
Now let's add two more inputs and make the print pretty.
| test.py | |
|---|---|
1 2 3 4 5 6 7 8 9 10 11 | |
Run the script again and check the result.
$ python test.py
|  Input   |  Prediction   |
|----------|---------------|
|    a     |       1       |
|    b     |       2       |
|    c     |       0       |